
BUILDING A FIRE
FIRST THINGS FIRST, GATHER THE NECESSARY MATERIALS
1. Gather tinder. Before becoming better known as a dating app, tinder was the dry, easily flammable material that catches the first sparks of the fire and transfers the flame to kindling. Ideal sources of tinder are paper, dry needles, fire sticks, or wood shavings.
2. Gather kindling. Kindling must ignite easily but, unlike tinder, also be able to produce sustained flames in order to light the main fuel source. To work, kindling must have a large surface-to-volume ratio, such as cardboard or newspaper. Conifers are also extremely flammable, and the resins they contain produce the crackling sounds characteristic of outdoor fires.
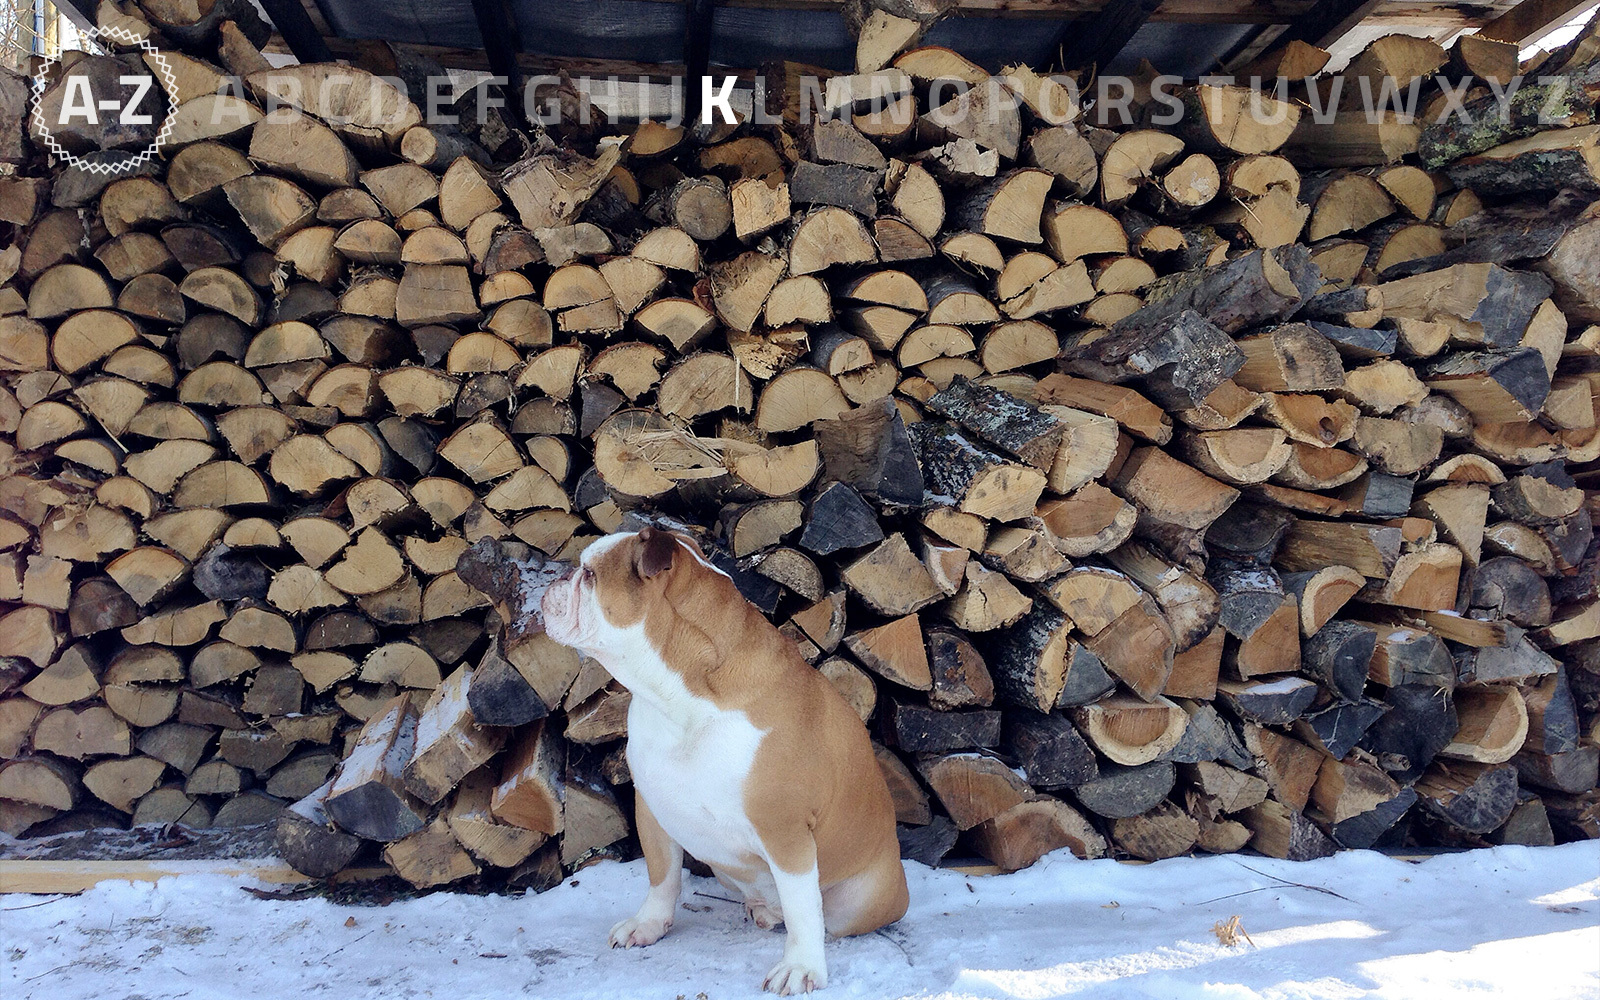
3. Gather the main fuel source. Ideal fuels include dry logs, dried animal dung, coal and dry grasses. Once the fire is well established, wet or humid fuel can be used as well, though it will burn more slowly.
SETTING YOUR FOUNDATION
1. Reserve a circular area with a diameter of about four feet. Surround it with a ring of rocks in order to insulate the fire and not waste its heat. If you’re only going to be on one side of the fire, make the stone wall taller on the opposite side in order to reflect the heat toward you.
2. Pile the kindling in the fire pit. Pile it close enough to catch fire but keep the pile loose; the air needs to circulate effectively. Place the tinder on top of the kindling and light the fire. As it burns, gradually add more kindling and blow air to build intensity.
3. Add firewood or other main fuel source. Start with the smaller pieces and move your way up. Most importantly, don’t throw the wood on the fire: the arrangement you choose is crucial in determining the fire’s longevity.
The teepee: arrange the tinder and kindling in the shape of a cone with the thicker tips at the top, lighting them at the centre. The logs, as they burn, will fall inward and feed the fire. This is an extremely effective arrangement as it creates intense flame and fire, but it also burns through the wood quickly.
The log cabin: pile your layers of logs in such a way to create four walls in the shape of a square. Ensure that the air can circulate between the logs. Create a small tepee with kindling and tinder in the center and light it. This arrangement is best for cooking food, since the shape leads to uniform heat.
The pyramid: For this one, you need to work with layers. Place two logs parallel to each other. Then, put a second layer of small logs on top of them, perpendicularly. Repeat the procedure with three or four gradually smaller layers, always switching up the direction. Light the very top of the pyramid; the flame will naturally travel down.
The star: Place the logs in the shape of a star. You can push the logs inward to increase heat and intensity; pull them out to decrease them. This arrangement is most effective in fuel conservation.
Burn, baby, burn.
BUILDING A FIRE
FIRST THINGS FIRST, GATHER THE NECESSARY MATERIALS
1. Gather tinder. Before becoming better known as a dating app, tinder was the dry, easily flammable material that catches the first sparks of the fire and transfers the flame to kindling. Ideal sources of tinder are paper, dry needles, fire sticks, or wood shavings.
2. Gather kindling. Kindling must ignite easily but, unlike tinder, also be able to produce sustained flames in order to light the main fuel source. To work, kindling must have a large surface-to-volume ratio, such as cardboard or newspaper. Conifers are also extremely flammable, and the resins they contain produce the crackling sounds characteristic of outdoor fires.
3. Gather the main fuel source. Ideal fuels include dry logs, dried animal dung, coal and dry grasses. Once the fire is well established, wet or humid fuel can be used as well, though it will burn more slowly.
SETTING YOUR FOUNDATION
1. Reserve a circular area with a diameter of about four feet. Surround it with a ring of rocks in order to insulate the fire and not waste its heat. If you’re only going to be on one side of the fire, make the stone wall taller on the opposite side in order to reflect the heat toward you.
2. Pile the kindling in the fire pit. Pile it close enough to catch fire but keep the pile loose; the air needs to circulate effectively. Place the tinder on top of the kindling and light the fire. As it burns, gradually add more kindling and blow air to build intensity.
3. Add firewood or other main fuel source. Start with the smaller pieces and move your way up. Most importantly, don’t throw the wood on the fire: the arrangement you choose is crucial in determining the fire’s longevity.
The teepee: arrange the tinder and kindling in the shape of a cone with the thicker tips at the top, lighting them at the centre. The logs, as they burn, will fall inward and feed the fire. This is an extremely effective arrangement as it creates intense flame and fire, but it also burns through the wood quickly.
The log cabin: pile your layers of logs in such a way to create four walls in the shape of a square. Ensure that the air can circulate between the logs. Create a small tepee with kindling and tinder in the center and light it. This arrangement is best for cooking food, since the shape leads to uniform heat.
The pyramid: For this one, you need to work with layers. Place two logs parallel to each other. Then, put a second layer of small logs on top of them, perpendicularly. Repeat the procedure with three or four gradually smaller layers, always switching up the direction. Light the very top of the pyramid; the flame will naturally travel down.
The star: Place the logs in the shape of a star. You can push the logs inward to increase heat and intensity; pull them out to decrease them. This arrangement is most effective in fuel conservation.
Burn, baby, burn.