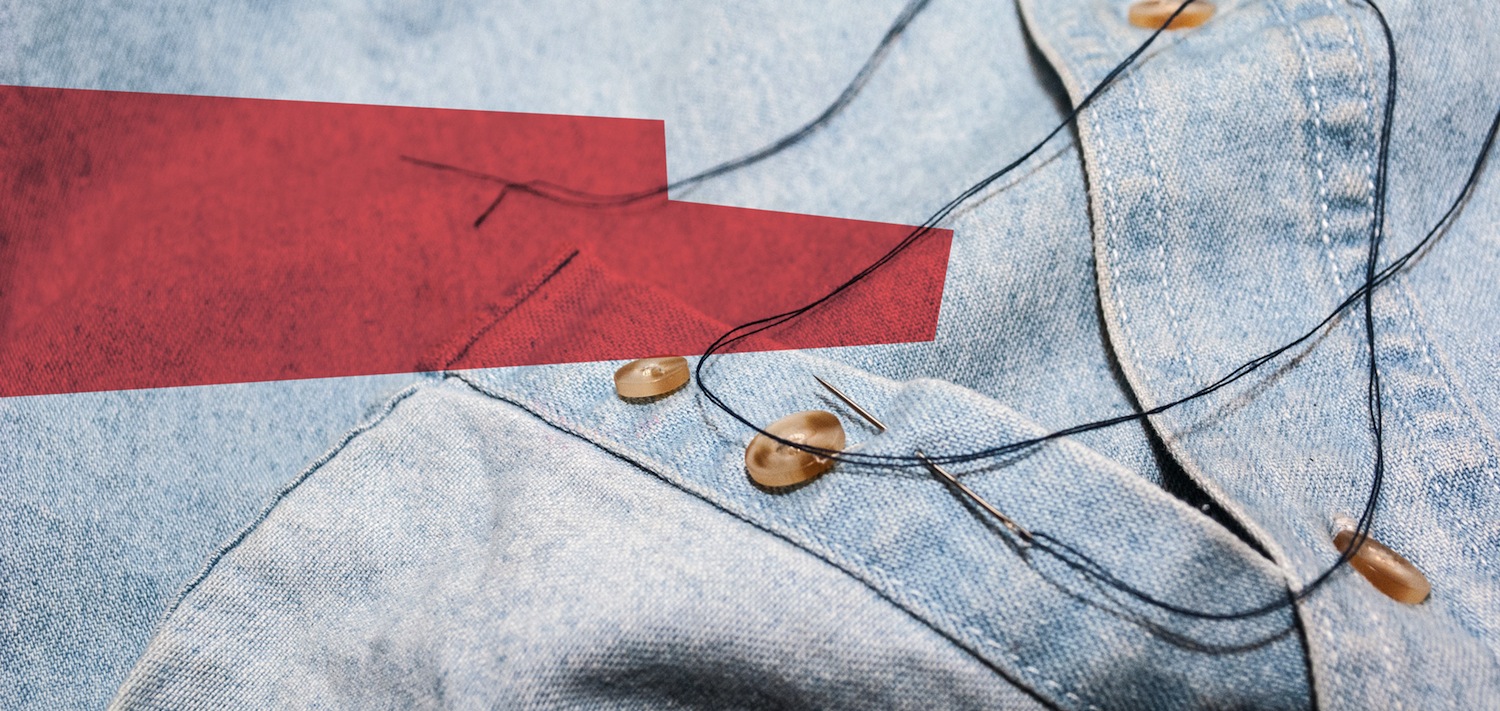

How-to Sew a Button
No need to unravel, we've got your back.
T he only shortfall of the humble button is that they fall off. In the same way that buttons can be the detail which makes or breaks a great coat, or dress shirt, a missing button can make you look like you’re on the road to Slobsville in a hurry.
But not to worry! Fixing a button is much easier than it might seem, even for the most manly of fingers. Today we will be going through the basics of buttonery. After this quick lesson (and a little practice) you will never have to cast aside a perfectly good (albeit) button deprived shirt again.
Tools of the trade:
The Needle – Not all needles are the same. You’ll want a thin gauge to pass through your fabrics without leaving a hole.
Thread – When replacing one button, make sure to match the colour of the thread to the other stitching in the garment you’re trying to repair. If you happen to be replacing an entire set of buttons, consider using a contrasting colored thread to add some personalized flair to your garment.
Scissors – Sharp fabric scissors allows you to trim all excess thread and help greatly when trimming the thread to pass through your needle.
Buttons – Many garments will come with a little bag containing an extra button or have extras sewn into the inside the front placket of the shirt. Don’t worry about lost buttons; there are entire stores happy to sell you new ones. While the eccentric among us may be inclined to mix and match, more often than not less is more; consistency and simplicity are rules to live by.
Thimble – The little helmet for your finger tips. They can be particularly useful if you’re working on a thicker material, allowing for a little extra push when working with stubborn materials.
![]()
Now its time to get down to business.
First things first, make sure you have the button! If you’ve been able to hang on to the original you’re in the advanced group; if not, find your suitable replacement(s) (remember: check the inner seam). Take a second to give some consideration to the way that the existing buttons are stitched on. Are there two holes or four holes? Do the stitches criss-cross or are they parallel? Shrug-off those who consider these superficial details; we are all about details.
1. Needle Thread, and Button
To sew on a standard button you will need about two feet of thread. To make sure our repair job is sturdy and worthwhile, thread the needle and pull it to the centre of your 24 inch strand, leaving you with a foot to work with. Take the two ends together and tie them in a simple knot. Now you should have enough doubled thread with a needle attached to finish the job and then some. It’s never a problem having too much thread but can be a pain to run out before the task is done. Remember to pick an appropriate colour.
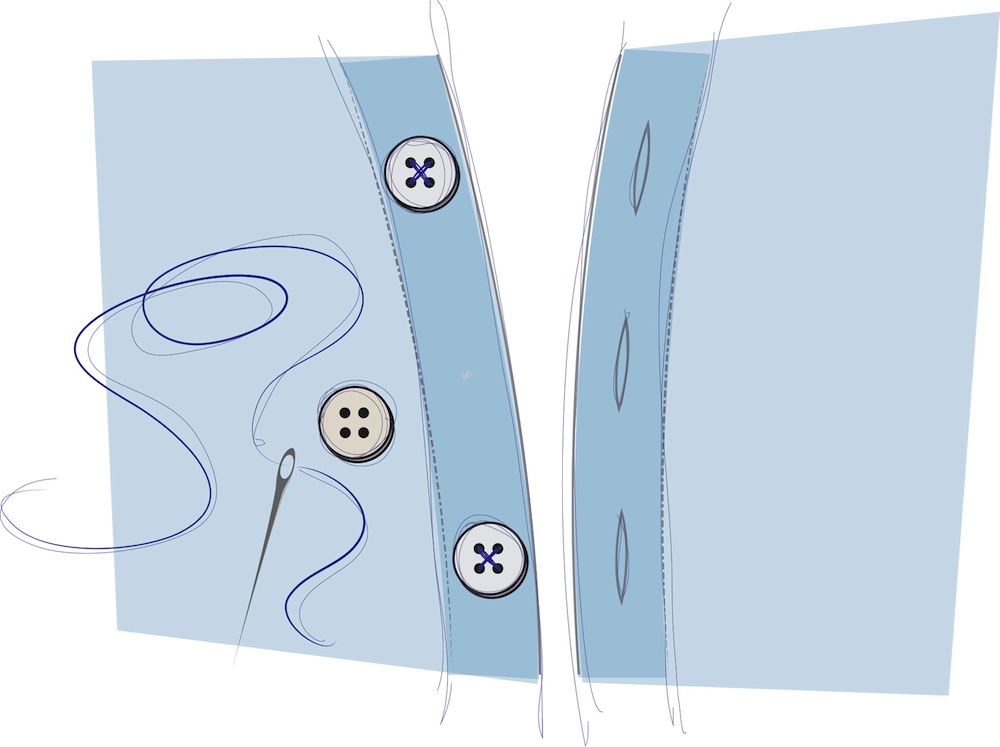
2. ‘X’ Marks The Spot
Possibly the most difficult part of this whole operation is getting the positioning right. To help, the first stitch we make will simultaneously act as a guide for placing the button, while also laying an anchor for the thread so that it doesn’t get loose over time.

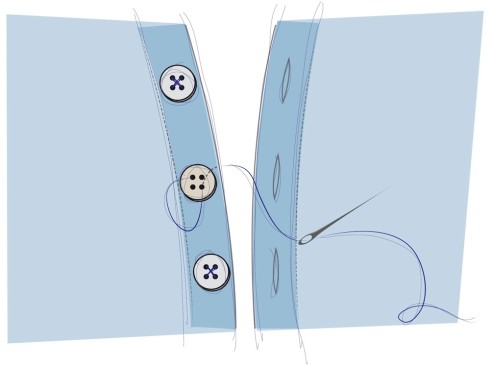
3. Button Down
Using our handy ‘X’ as a guide, place the new button on the front of your shirt and begin sewing from back to front making sure to push the needle through the first button hole. Now push the needle back down, through the opposite hole. At this point you want to pull the thread all the way through so that the knot is snug (but not too tight) against the fabric.
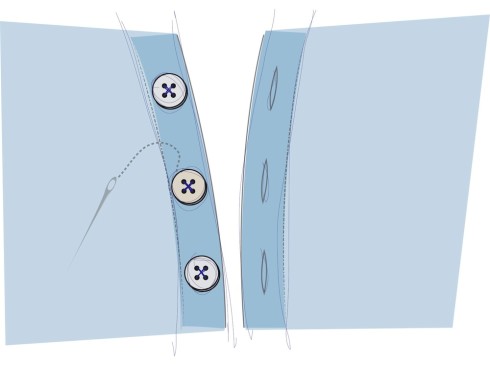
Repeat this step three times for each pair of button holes (if there are four holes, make sure each pair gets three passes). Now your needle should be on the back side of the garment.
4. It’s Shank Time
On the last pass from back-to-front of the fabric, you want to hold off from heading through the buttonhole again. Instead, we are going to create a shank, or spacer. Wrap the needle and thread around the stitches you’ve already made (at least five times), bundling them all together and strengthening the bond between button and cloth. To finish it off make a knot around the stem on your final twist and then plunge it back down through to the back of the garment.
5. TIE IT OFF
Were just about done. All we need to do now is tie the thread and cut off the extra ends. Before removing the needle, tie a simple knot as close to the base as possible. Pass the thread one last time through the base of your button stitches tie off another knot and then cut off the slack– you’re done!
Tips for common button-loss scenarios
Coats:
As coats tend to have larger buttons, they offer an opportunity for more ornamental replacements. Wood, brass, and bone are classic materials for fasteners but keep in mind there is a thin line between stylish personalizations and looking like your grandmothers walking sewing kit.
Pants:
They need to be sturdy, and so while a thimble will also probably come in handy, extra stitches and a reinforced shank (refer to step 4.) are important to make sure it’s strong and will hold.
Dress shirt:
Because they are made of much thinner, more delicate fabrics, you will have to be more precise with your needle work. Lazy stitching will be much more apparent as the lighter materials will pull more.
T he only shortfall of the humble button is that they fall off. In the same way that buttons can be the detail which makes or breaks a great coat, or dress shirt, a missing button can make you look like you’re on the road to Slobsville in a hurry.
But not to worry! Fixing a button is much easier than it might seem, even for the most manly of fingers. Today we will be going through the basics of buttonery. After this quick lesson (and a little practice) you will never have to cast aside a perfectly good (albeit) button deprived shirt again.
BONUS: Standard needles for hand sewing are called sharps. Typically they come in packages with a range of weights and thicknesses which should do the trick for most simple repairs. Betweens or quilting needles are slightly shorter and more maneuverable than sharps; this makes them better suited to tailoring and detailed handiwork.
Tools of the trade:
The Needle - Not all needles are the same. You’ll want a thin gauge to pass through your fabrics without leaving a hole.
Thread - When replacing one button, make sure to match the colour of the thread to the other stitching in the garment you're trying to repair. If you happen to be replacing an entire set of buttons, consider using a contrasting colored thread to add some personalized flair to your garment.
Scissors - Sharp fabric scissors allows you to trim all excess thread and help greatly when trimming the thread to pass through your needle.
Buttons - Many garments will come with a little bag containing an extra button or have extras sewn into the inside the front placket of the shirt. Don’t worry about lost buttons; there are entire stores happy to sell you new ones. While the eccentric among us may be inclined to mix and match, more often than not less is more; consistency and simplicity are rules to live by.
Thimble - The little helmet for your finger tips. They can be particularly useful if you're working on a thicker material, allowing for a little extra push when working with stubborn materials.
![]()
Now its time to get down to business.
First things first, make sure you have the button! If you've been able to hang on to the original you’re in the advanced group; if not, find your suitable replacement(s) (remember: check the inner seam). Take a second to give some consideration to the way that the existing buttons are stitched on. Are there two holes or four holes? Do the stitches criss-cross or are they parallel? Shrug-off those who consider these superficial details; we are all about details.
1. Needle Thread, and Button
To sew on a standard button you will need about two feet of thread. To make sure our repair job is sturdy and worthwhile, thread the needle and pull it to the centre of your 24 inch strand, leaving you with a foot to work with. Take the two ends together and tie them in a simple knot. Now you should have enough doubled thread with a needle attached to finish the job and then some. It’s never a problem having too much thread but can be a pain to run out before the task is done. Remember to pick an appropriate colour.
2. ‘X’ Marks The Spot
Possibly the most difficult part of this whole operation is getting the positioning right. To help, the first stitch we make will simultaneously act as a guide for placing the button, while also laying an anchor for the thread so that it doesn't get loose over time.
3. Button Down
Using our handy ‘X’ as a guide, place the new button on the front of your shirt and begin sewing from back to front making sure to push the needle through the first button hole. Now push the needle back down, through the opposite hole. At this point you want to pull the thread all the way through so that the knot is snug (but not too tight) against the fabric.
Repeat this step three times for each pair of button holes (if there are four holes, make sure each pair gets three passes). Now your needle should be on the back side of the garment.
4. It’s Shank Time
On the last pass from back-to-front of the fabric, you want to hold off from heading through the buttonhole again. Instead, we are going to create a shank, or spacer. Wrap the needle and thread around the stitches you've already made (at least five times), bundling them all together and strengthening the bond between button and cloth. To finish it off make a knot around the stem on your final twist and then plunge it back down through to the back of the garment.
5. TIE IT OFF
Were just about done. All we need to do now is tie the thread and cut off the extra ends. Before removing the needle, tie a simple knot as close to the base as possible. Pass the thread one last time through the base of your button stitches tie off another knot and then cut off the slack– you’re done!
Tips for common button-loss scenarios
Coats:
As coats tend to have larger buttons, they offer an opportunity for more ornamental replacements. Wood, brass, and bone are classic materials for fasteners but keep in mind there is a thin line between stylish personalizations and looking like your grandmothers walking sewing kit.
Pants:
They need to be sturdy, and so while a thimble will also probably come in handy, extra stitches and a reinforced shank (refer to step 4.) are important to make sure it's strong and will hold.
Dress shirt:
Because they are made of much thinner, more delicate fabrics, you will have to be more precise with your needle work. Lazy stitching will be much more apparent as the lighter materials will pull more.